Simple GPU Path Tracing : Introduction
In this blog posts series, I'll show how to write a simple software renderer that uses path tracing for rendering beautiful photo realistic images.
It's not going to be a production renderer able to render huge scenes with billions of polygons. It will support the basic materials that are needed to render simple scenes. It will hopefully guide the reader on how to implement a path tracer, and will explain some of the theory behind it.
The path tracing code will run on the GPU. It will support either OpenGL or Cuda as backend graphics APIs (It will be designing it so that the same code will run on both platforms)
I'll go in as much details as possible for the important topics, but will probably gloss over some less interesting aspects of the development.
Here are a few disclaimers before you start reading :
- I'm not an expert in path tracers. Part of my work involves computer graphics so I know a few things about the field. I did this project to learn more about path tracing and gpu programming, and I thought that a good way of consolidating the knowledge I acquired in the process would be to share it online !
- I'm not going to use any of the ray tracing hardware acceleration that's integrated in new GPU's. I wanted to built as many things as possible from scratch in order to understand the whole pipeline.
- I've only tested the program on my machine (Windows x64), so not sure if it's going to work on other architectures.
I expect the reader to have a few prerequisites in computer graphics. I'm going to try to explain the more complicated concepts as best as I can, but I won't cover :
- Maths for 3d graphics, there are tons of resources online and also great books for that.
- OpenGL, Cuda, Shaders and gpu computing, We're not going to be using advanced features of openGL, so nothing too complex here, but I recommend reading the basics of learnopengl if you're not familiar with it, and especially the compute shader tutorial.
Summary :
- Simple GPU Path Tracing : Introduction
- Simple GPU Path Tracing, Part. 1 : Project Setup
- Simple GPU Path Tracing, Part. 1.1 : Adding a cuda backend to the project
- Simple GPU Path Tracing, Part. 2.0 : Scene Representation
- Simple GPU Path Tracing, Part. 2.1 : Acceleration structure
- Simple GPU Path Tracing, Part. 3.0 : Path Tracing Basics
- Simple GPU Path Tracing, Part. 3.1 : Matte Material
- Simple GPU Path Tracing, Part. 3.2 : Physically Based Material
- Simple GPU Path Tracing, Part. 3.4 : Small Improvements, Camera and wrap up
- Simple GPU Path Tracing, Part. 4.0 : Mesh Loading
- Simple GPU Path Tracing, Part. 4.1 : Textures
- Simple GPU Path Tracing, Part. 4.2 : Normal Mapping & GLTF Textures
- Simple GPU Path Tracing, Part. 5.0 : Sampling lights
- Simple GPU Path Tracing, Part 6 : GUI
- Simple GPU Path Tracing, Part 7.0 : Transparency
- Simple GPU Path Tracing, Part 7.1 : Volumetric materials
- Simple GPU Path Tracing, Part 7.2 : Refractive material
- Simple GPU Path Tracing, Part 8 : Denoising
- Simple GPU Path Tracing, Part 9 : Environment Lighting
- Simple GPU Path Tracing, Part 10 : Little Optimizations
- Simple GPU Path Tracing, Part 11 : Multiple Importance Sampling
All the code will be freely available and each post will be contained in a separate branch of the github repository that I will link at the start of each post.
I'll use CMake for the building system, and the msvc compiler for compiling the code.
I'll be using some external libraries that will help the development. You can download a package of all the pre-built libraries here (will only work on msvc).
- GLFW for window system
- Glew for openGL bindings
- GLM for vector/math classes
- OIDN for denoising noisy image outputs
- STB for loading images
- Tinygltf for loading 3d models
- Assimp for loading 3d models
- Dear ImGui for user interface
- nativefiledialog for multi-platform file dialogs
Here are a few shots taken with the final version of the renderer :


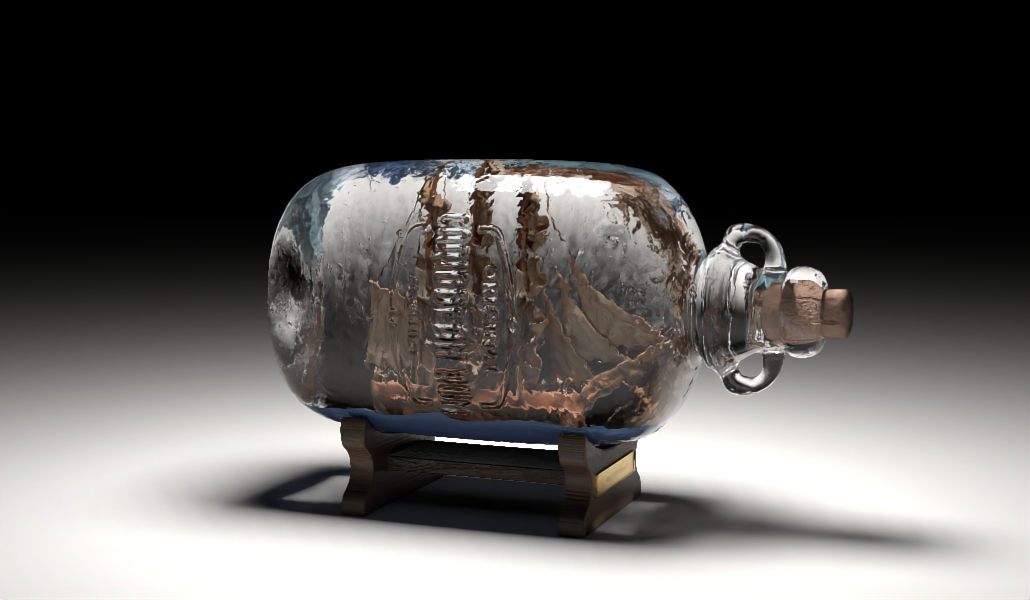


Teapot with normal mapping, and liquid spilling out
Model : Renderman's Teapot by Dylan Sisson and Leif Pedersen
with that said, let's get going to the first part (and most boring) part of the project : Setting our development environment up.

Commentaires
Enregistrer un commentaire